Openers · Mississauga
Photo-Eye Sensor Alignment or Replacement in Mississauga
Since shelving went up along the garage wall, the door will not close and both sensor lights are dead.
In plain words
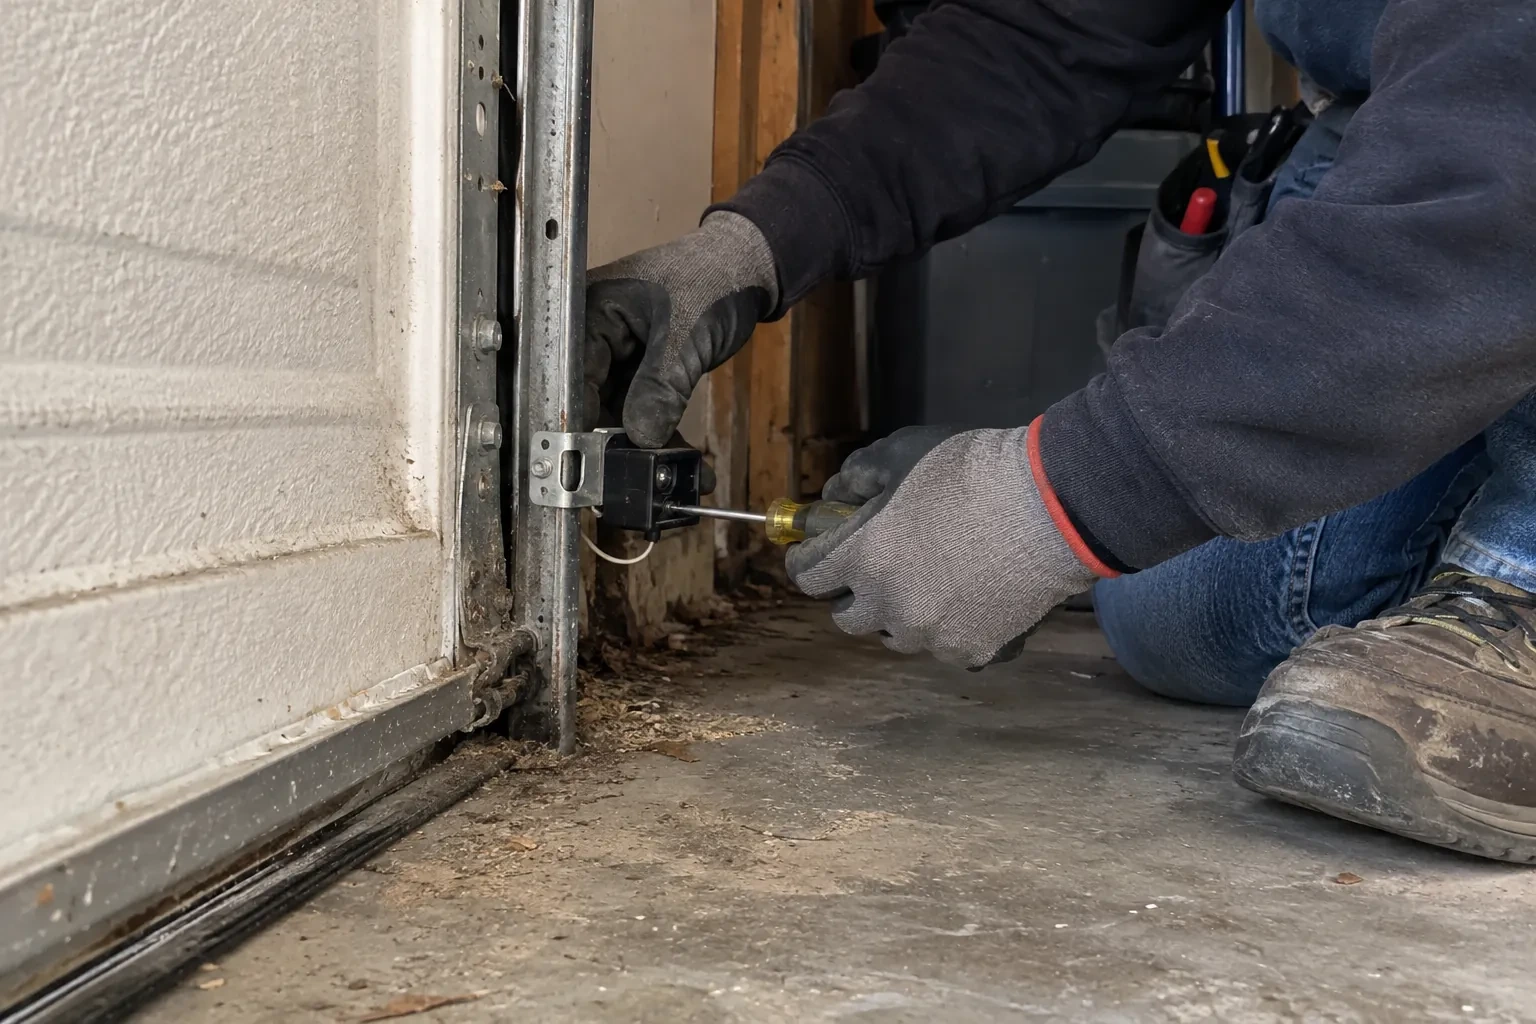
Most sensor visits end in alignment rather than new parts. The brackets that hold the sensors ride on the door track or the wall, and they get bumped by bins, tires and shovels until the two lenses no longer look at each other. The technician resets both sensors to the same height, loosens the wing nuts, aims the pair until the receiving light holds steady, tightens everything and secures the wire. Replacement is the answer when a lens is crazed, a housing is cracked, water has got inside or the indicator stays dark with good wiring, and then a pair matched to the opener is fitted.
How the visit goesThe small light on one of the sensors near the floor has gone dark, or it flickers when someone walks past the track. The other one glows steadily. The door refuses to close from the car.
Photo-Eye Sensor Alignment or Replacement
How the visit goes
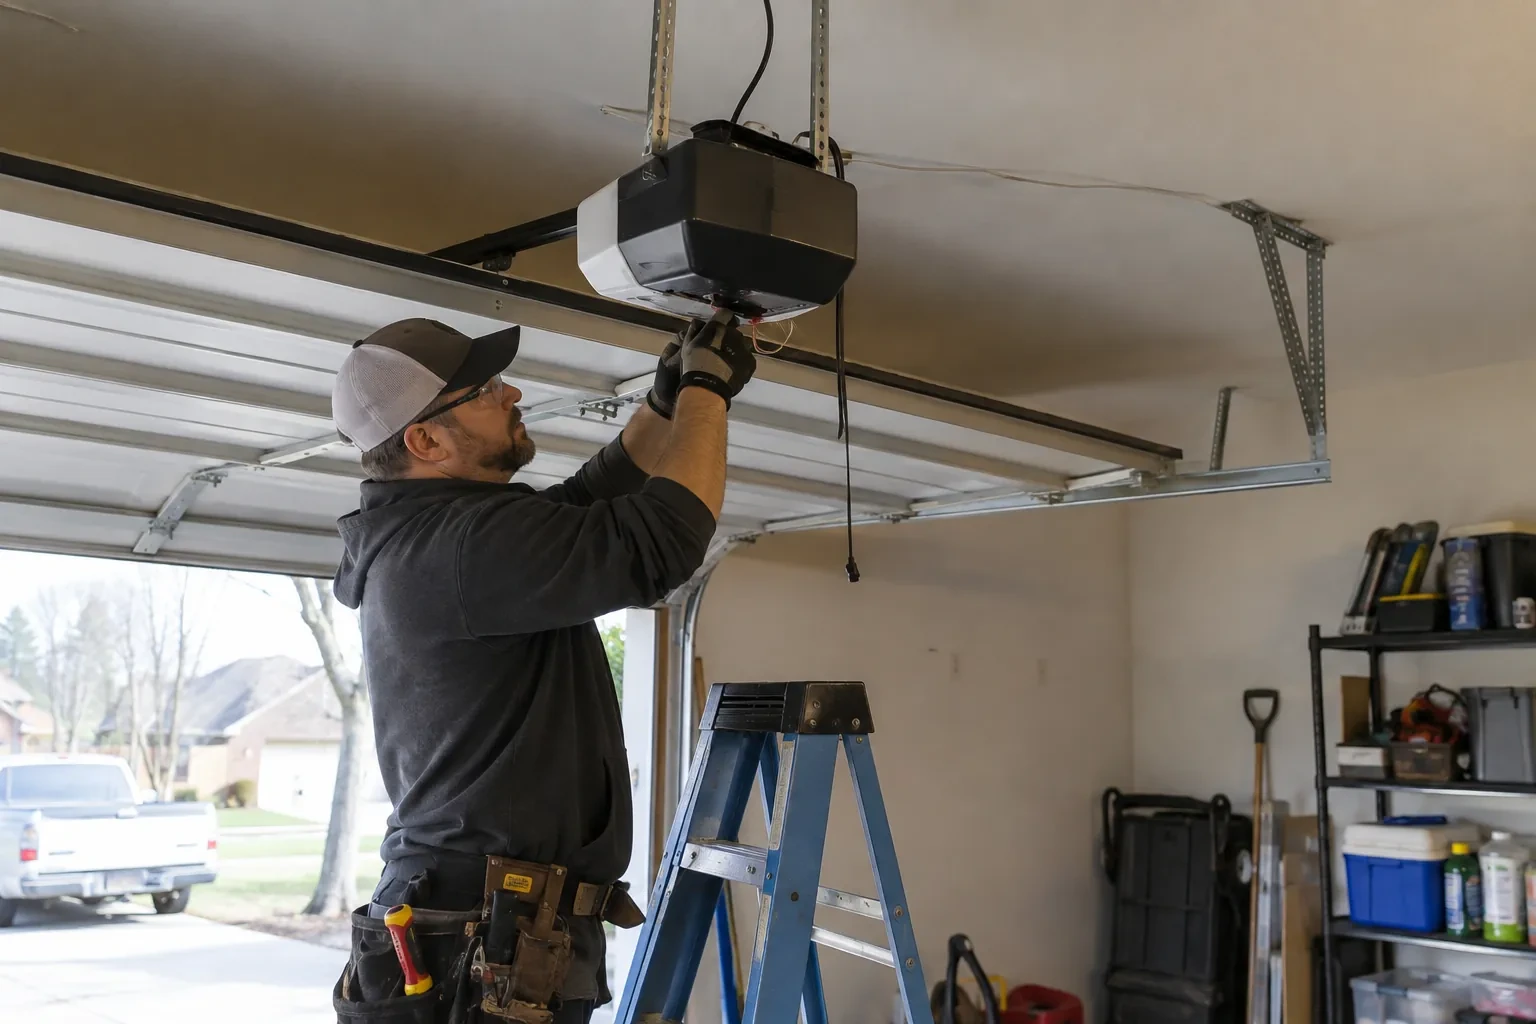
Making sure it is the sensors and not the door
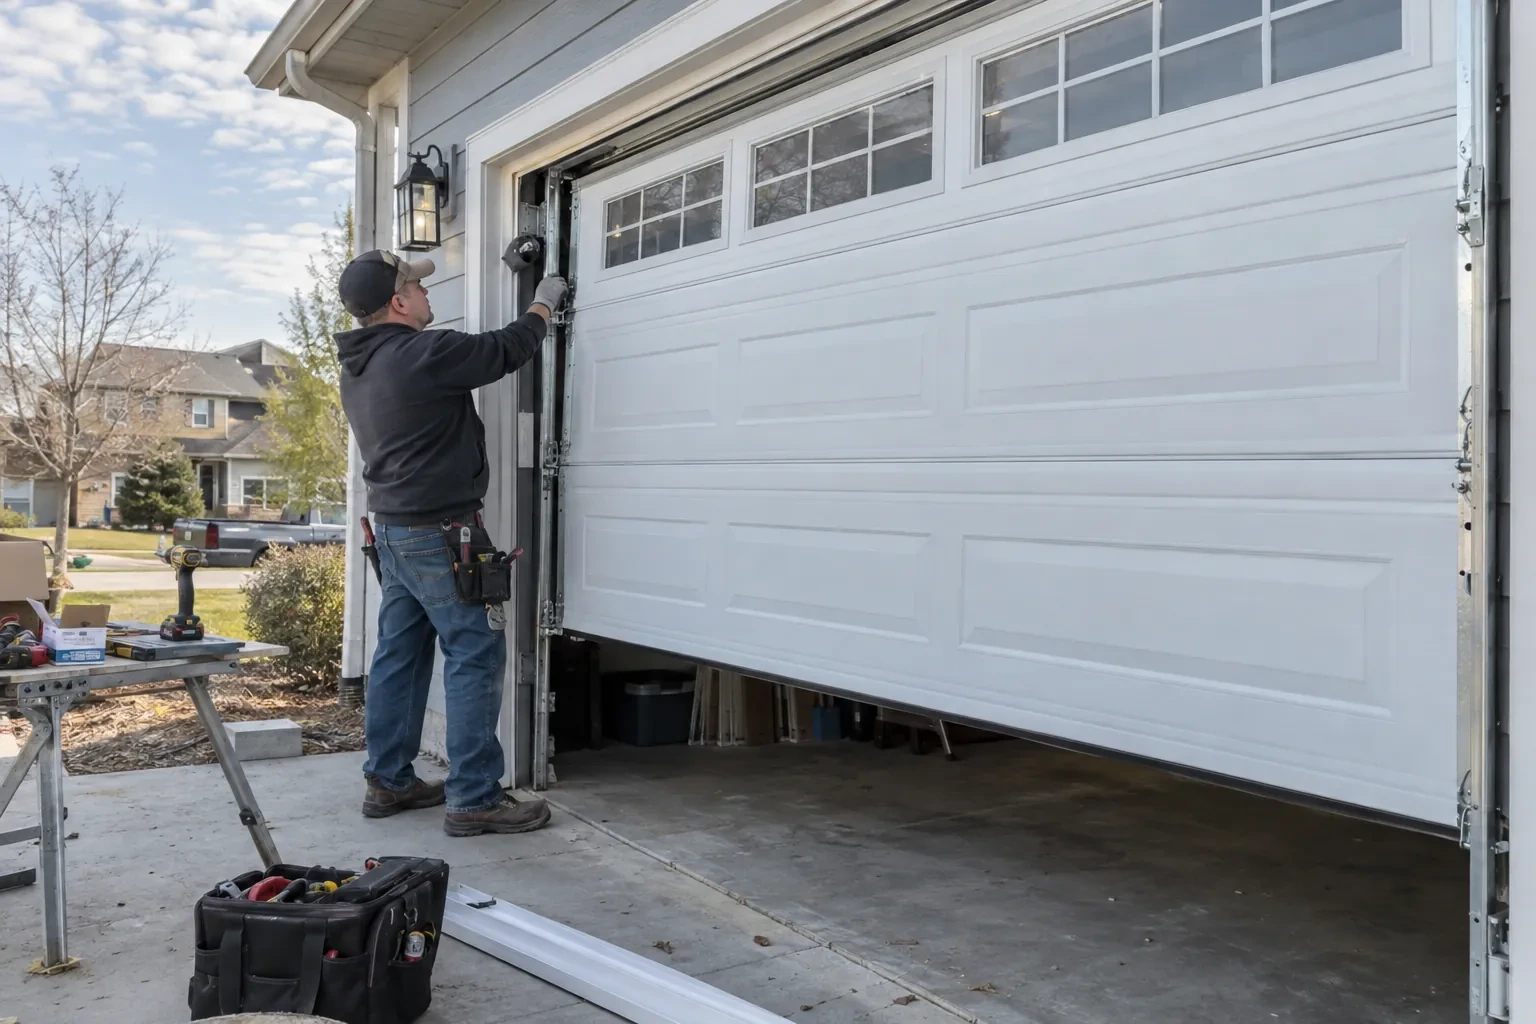
A door that reverses on the way down has two possible reasons, and only one of them lives at the floor. If the door touches something, including a bottom seal frozen to the slab, a travel limit set slightly long or a stiff door in cold weather, the force setting sends it back up. That looks like a sensor fault from the driveway but calls for a different fix. The technician checks whether the door reverses before it moves or after it meets resistance, watches the sensor lights during the cycle, and tries the door with the beam deliberately shaded. The answer decides whether the work stays with the sensors or moves to the settings.
Repairing the wire run
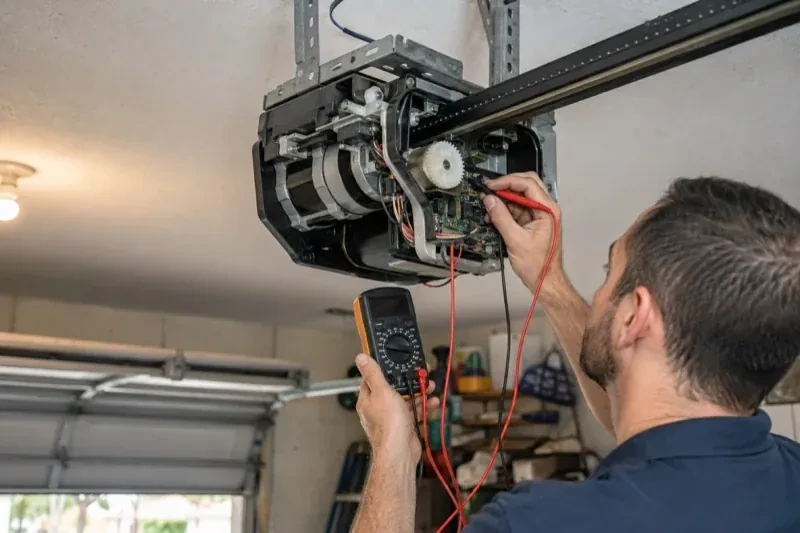
Damaged wire is dealt with in whole sections rather than patched at a single point. A pierced or chewed length is cut back to sound insulation and either spliced with proper connectors or, more often, replaced from the sensor to the nearest good junction. Where the run has failed in more than one place, a fresh two-conductor wire is stapled from the motor housing across the ceiling and down both sides of the opening, kept clear of the track, hinges and the door's travel. At the head unit the pair is landed on the correct low-voltage terminals with polarity confirmed, and the sensor lights are checked before anything is tidied.
If it ever reverses again
Should the door start bouncing back up in the future, you know the order to check. Look along the floor for anything in the beam. Look at the two sensor lights for a dark or flickering one. Look at whether the door backs up as soon as it starts or only after touching something, since the second points to the door's settings rather than the beam. Note whether the opener light is flashing and how many times. With those four facts the cause is usually obvious, and if a visit is needed, the technician arrives already knowing where to begin.
Photo-Eye Sensor Alignment or Replacement
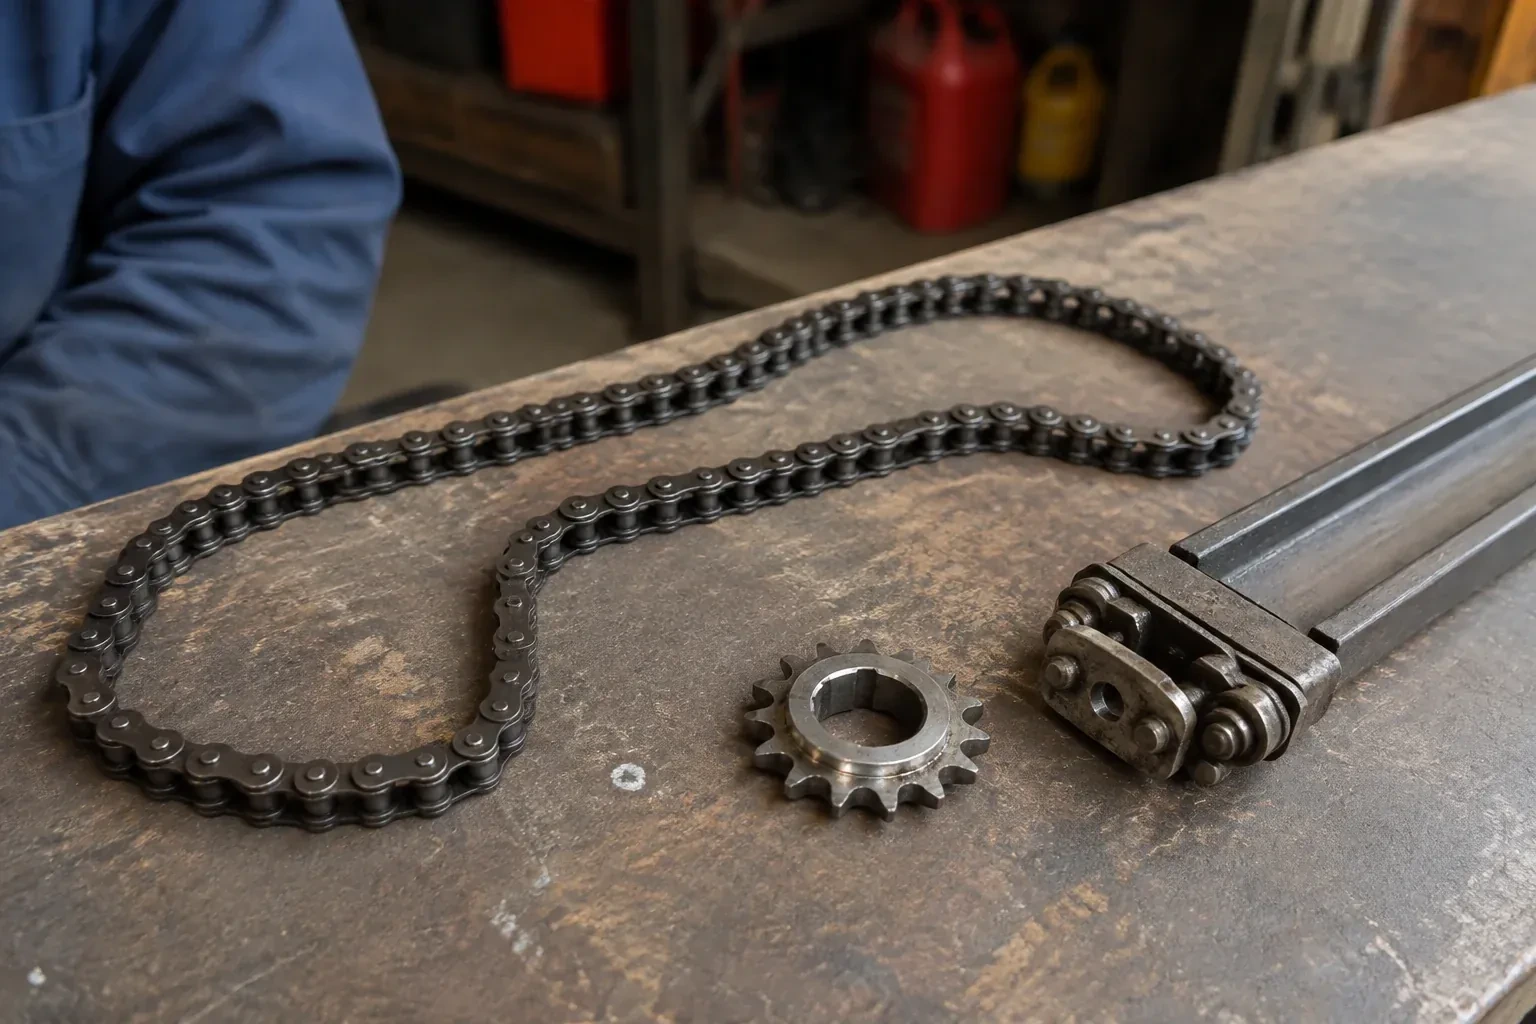
In the van
Wing nuts and carriage bolts
Track-mount sensor brackets
Multimeter
Matched photo-eye sensor pair
Wire connectors
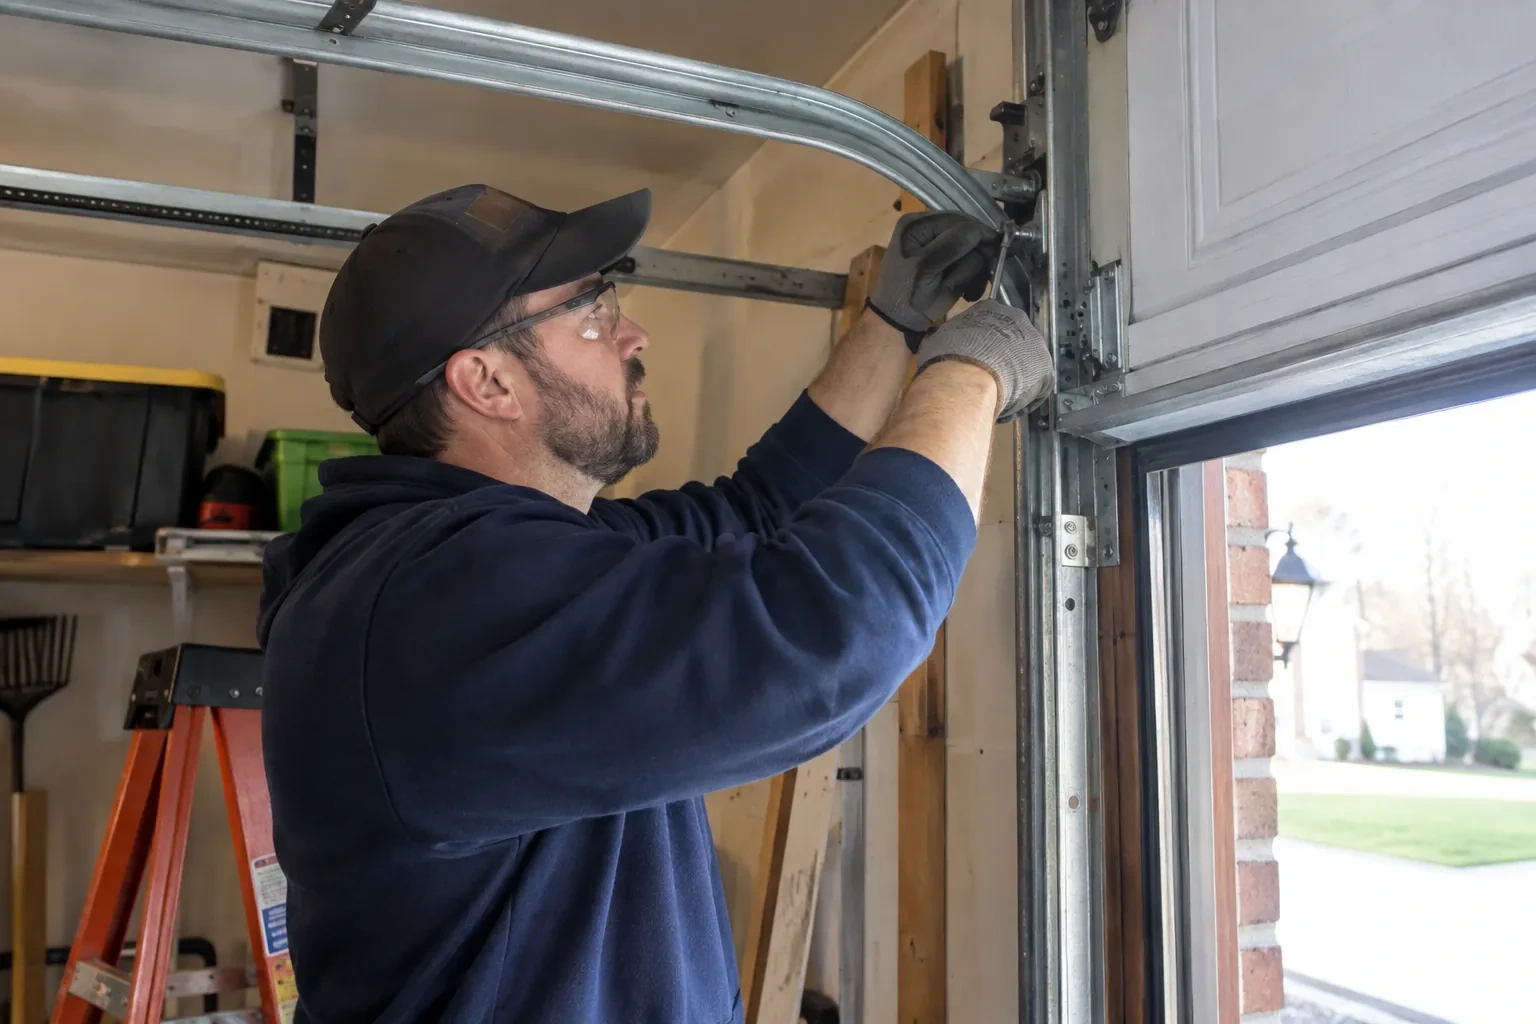
Photo-Eye Sensor Alignment or Replacement
What affects the quote
Force and travel adjustment alongside
If the reversing turns out to involve a travel limit set long or a force setting made in summer, adjusting and re-testing those settings is included as a small extra step.
Winter conditions on the day
Snow and ice packed against the brackets, a frozen bottom seal or a frozen floor where anchors must go all add a little clearing and care before the sensor work itself can start.
Alignment or replacement
Cleaning, re-aiming and refastening the existing pair is the smaller job. Fitting a new matched sending and receiving pair is the larger one, and the diagnosis at the door decides which applies before the quote is settled.
What to have ready
- Is there frost, snow, slush or salt around the sensors in winter?
- What do the two small sensor lights show: both steady, one dark or flickering, or both dark?
- Which direction does the garage door face?
Photo-Eye Sensor Alignment or Replacement: questions
QuestionsDo sensors wear out with age?
They do, slowly. The infrared emitter and the receiver dim over many years, lenses craze or cloud from sun and salt, housings crack, and water finds its way in at floor level. A pair that needs re-aligning more and more often, or whose light drifts between steady and flickering with nothing touched, is usually ageing. Because pairs are matched to the opener, an older opener is worth identifying early so the right replacement is on hand.
How high off the floor should the sensors sit?
Low. The industry checklist expects the beam no more than roughly 15 cm (6 in) up from the floor, so that a small child, a pet or a bicycle wheel breaks it. Both sensors are set at the same measured height and level with each other, since a difference of a couple of centimetres is enough to lose the beam. Within that rule the technician can raise them a little to keep them out of the strip where slush collects.
How should I clean the lenses?
Gently, with a soft dry or lightly damp cloth, the way you would clean eyeglasses. Never scrape a lens or use a solvent, since a scratched or clouded lens scatters the beam. Wipe both sensors, then check that the receiving light comes on steadily. If a lens frosts on cold mornings, give it a few minutes to clear or dry it with a cloth. A quarterly wipe keeps dust, cobwebs and salt film from building up.