Openers · Mississauga
Photo-Eye Sensor Alignment or Replacement
Since shelving went up along the garage wall, the door will not close and both sensor lights are dead.
In plain words
Some sensor problems keep a schedule. A receiving eye that faces the low sun on winter mornings is flooded with light and loses the beam until the sun moves on, and a lens that frosts overnight in an unheated garage clears itself by noon. The service sorts these out for good: the sensors are swapped side to side so the receiver faces away from the light, or a small shade is fitted, and lenses and brackets are cleaned and reset above the line where slush collects. The door then closes at any hour of the day and in any month.
How the visit goesSomeone backed the car in a little too far, a bin or a bicycle brushed the track, and since then the door starts to close and comes back up. One sensor now sits at a slightly different angle from the other.
Photo-Eye Sensor Alignment or Replacement
How the visit goes
Following the wire home
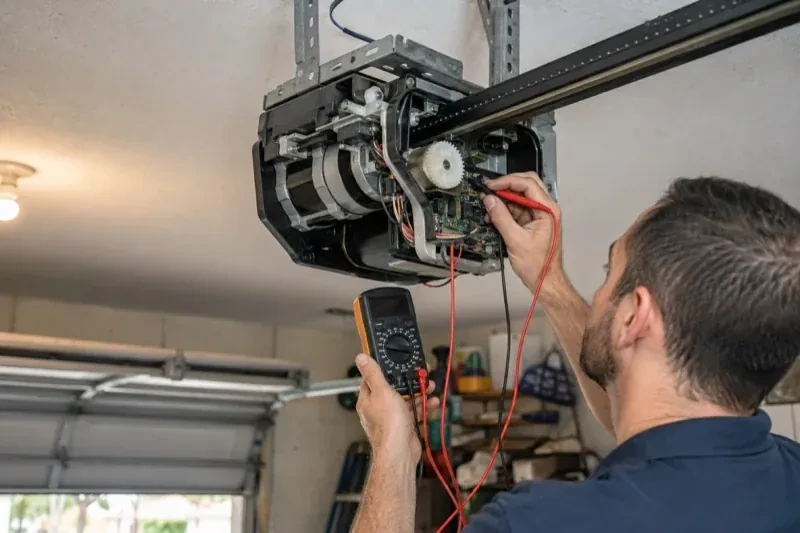
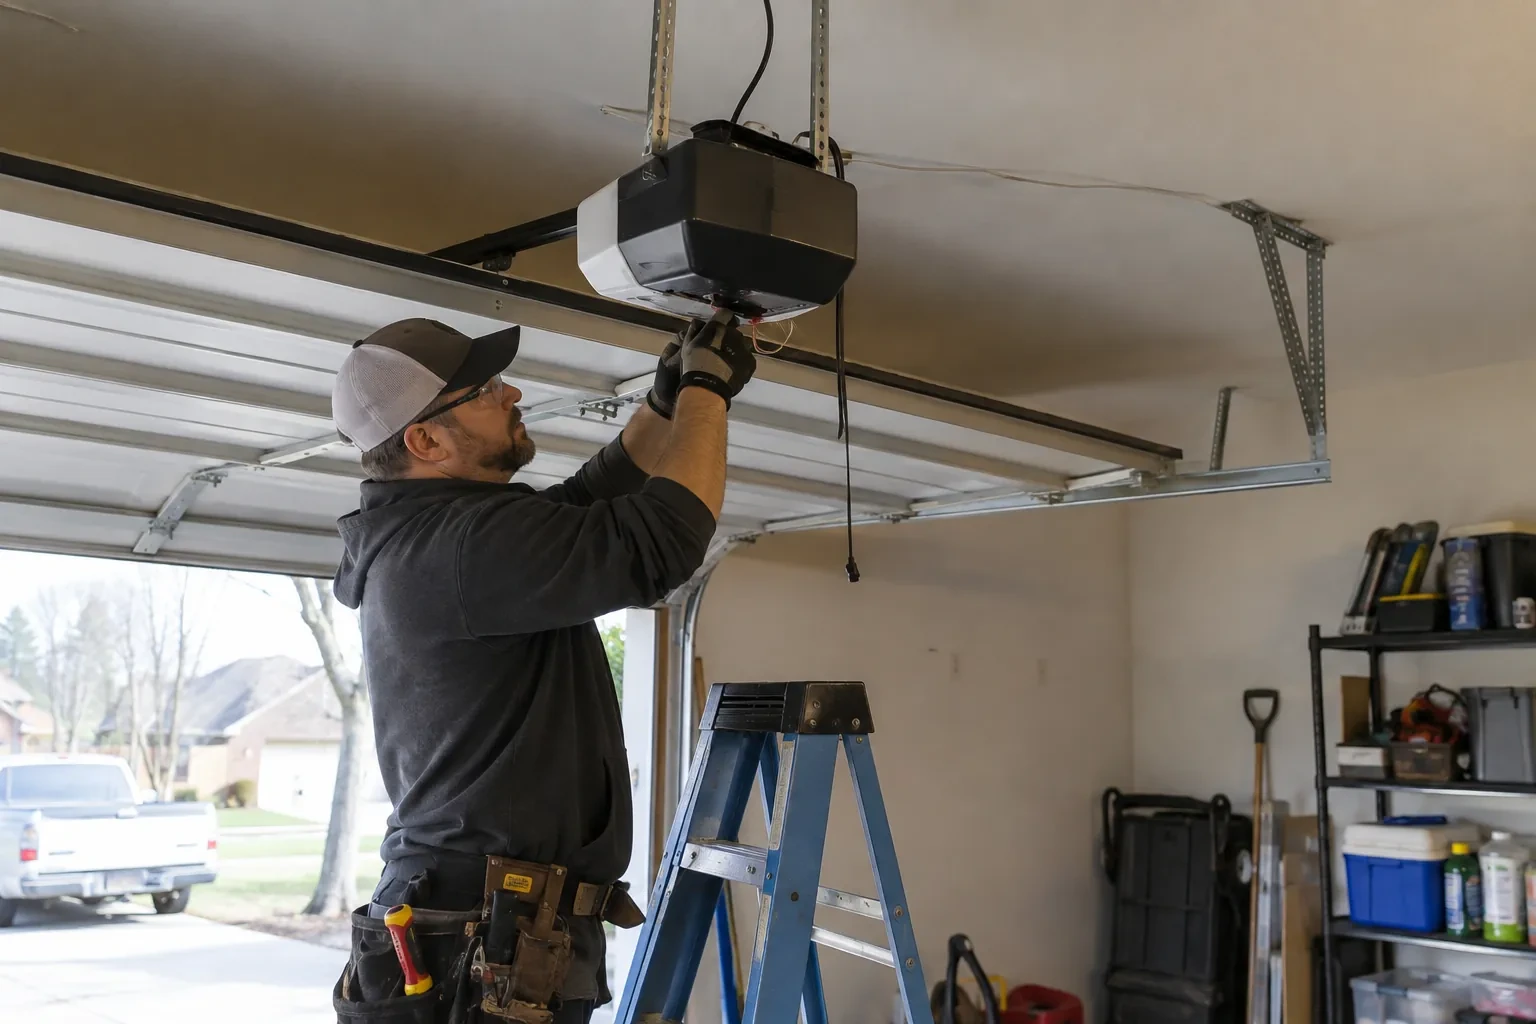
When the lights or the code point to the circuit, the low-voltage wire is followed from each sensor to the head unit. The technician looks for staples driven through the insulation, wire pinched behind a track bracket, sections chewed by mice, cuts where shelving or drywall screws went in, splices that have corroded, and terminals at the head unit that are loose or connected the wrong way round. A meter confirms continuity and polarity rather than guessing. Where the wire disappears into a finished ceiling, the readings at each end tell whether the hidden section is sound or whether a fresh run is the tidier answer.
Resetting the alignment
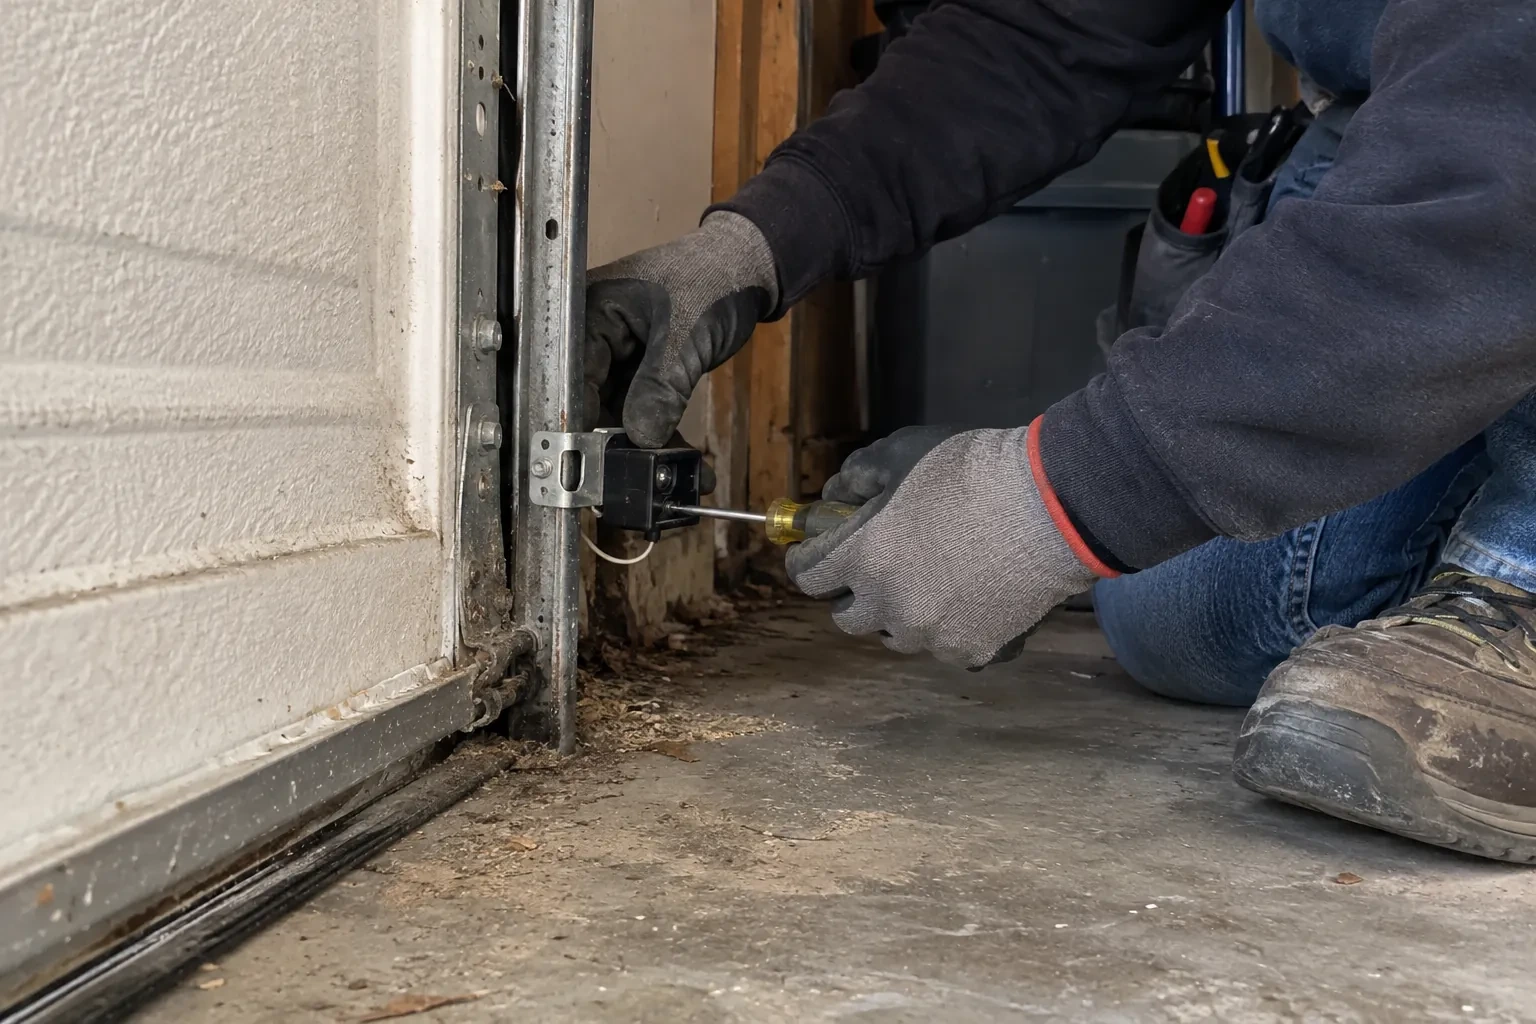
Alignment is done with the door open and the lights in view. The technician sets both sensors to the same measured height, loosens the wing nut on the receiving side, and turns the sensor a fraction at a time until its indicator changes from dark or flickering to steady. The nut is tightened while the light is watched, because a sensor can drift as the fastener bites, and the sending side is treated the same way. Brackets are checked for play and the wire is re-clipped so it cannot tug the sensor out of line. A steady light on both sides, held through a few door cycles, is the standard.
Two lights to glance at
You leave knowing what normal looks like at the floor. Most sensor pairs carry a small indicator on each side, often in different colours for sender and receiver, though some older pairs light only the receiver; the model's own chart tells you what steady and flickering mean. A dark or flickering light on the receiving side means the beam has been lost, usually because a bracket was bumped or something is in the path, and two dark lights mean the pair has lost power along the wire. A glance at those lights before calling anyone tells you most of what the technician would look at first, and often the fix is moving whatever is leaning on the bracket.
Photo-Eye Sensor Alignment or Replacement
In the van
Wing nuts and carriage bolts
Track-mount sensor brackets
Multimeter
Matched photo-eye sensor pair
Wire connectors
Photo-Eye Sensor Alignment or Replacement
What affects the quote
Winter conditions on the day
Snow and ice packed against the brackets, a frozen bottom seal or a frozen floor where anchors must go all add a little clearing and care before the sensor work itself can start.
Length and route of the wire run
A damaged section near a sensor is a short repair. A fresh run from the motor to both sides of the doorway takes longer, more so where the wire is buried in a finished ceiling.
Force and travel adjustment alongside
If the reversing turns out to involve a travel limit set long or a force setting made in summer, adjusting and re-testing those settings is included as a small extra step.
What to have ready
- Does it happen at all hours, or mainly on bright mornings or late afternoons?
- Which direction does the garage door face?
- Can you send photographs of both sensors, the head unit label and the wall control?
Photo-Eye Sensor Alignment or Replacement: questions
QuestionsDo sensors wear out with age?
They do, slowly. The infrared emitter and the receiver dim over many years, lenses craze or cloud from sun and salt, housings crack, and water finds its way in at floor level. A pair that needs re-aligning more and more often, or whose light drifts between steady and flickering with nothing touched, is usually ageing. Because pairs are matched to the opener, an older opener is worth identifying early so the right replacement is on hand.
How high off the floor should the sensors sit?
Low. The industry checklist expects the beam no more than roughly 15 cm (6 in) up from the floor, so that a small child, a pet or a bicycle wheel breaks it. Both sensors are set at the same measured height and level with each other, since a difference of a couple of centimetres is enough to lose the beam. Within that rule the technician can raise them a little to keep them out of the strip where slush collects.
How should I clean the lenses?
Gently, with a soft dry or lightly damp cloth, the way you would clean eyeglasses. Never scrape a lens or use a solvent, since a scratched or clouded lens scatters the beam. Wipe both sensors, then check that the receiving light comes on steadily. If a lens frosts on cold mornings, give it a few minutes to clear or dry it with a cloth. A quarterly wipe keeps dust, cobwebs and salt film from building up.