Openers · Meadowvale South
Smart Garage Controller Setup in Meadowvale South
One remote lives in a car you sold last spring.
In plain words
The account is the part of the install that lives longest, so it is set up in your hands rather than the technician's. You choose the email and password, you pick the recovery method, and you type them yourself while the technician guides you through the screens. Once the hub is on your network you name the door, decide which alerts you want, and invite the people in your household as users under your control. If the house came with a controller tied to a seller's account, it is reset and claimed fresh. The technician leaves with no login to your system, and you leave holding every key.
How the visit goesYou are twenty minutes down the highway when the thought lands: did the garage door close behind you? You cannot picture it. Turning back means being late, and not turning back means wondering about it all day.
Smart Garage Controller Setup
How the visit goes
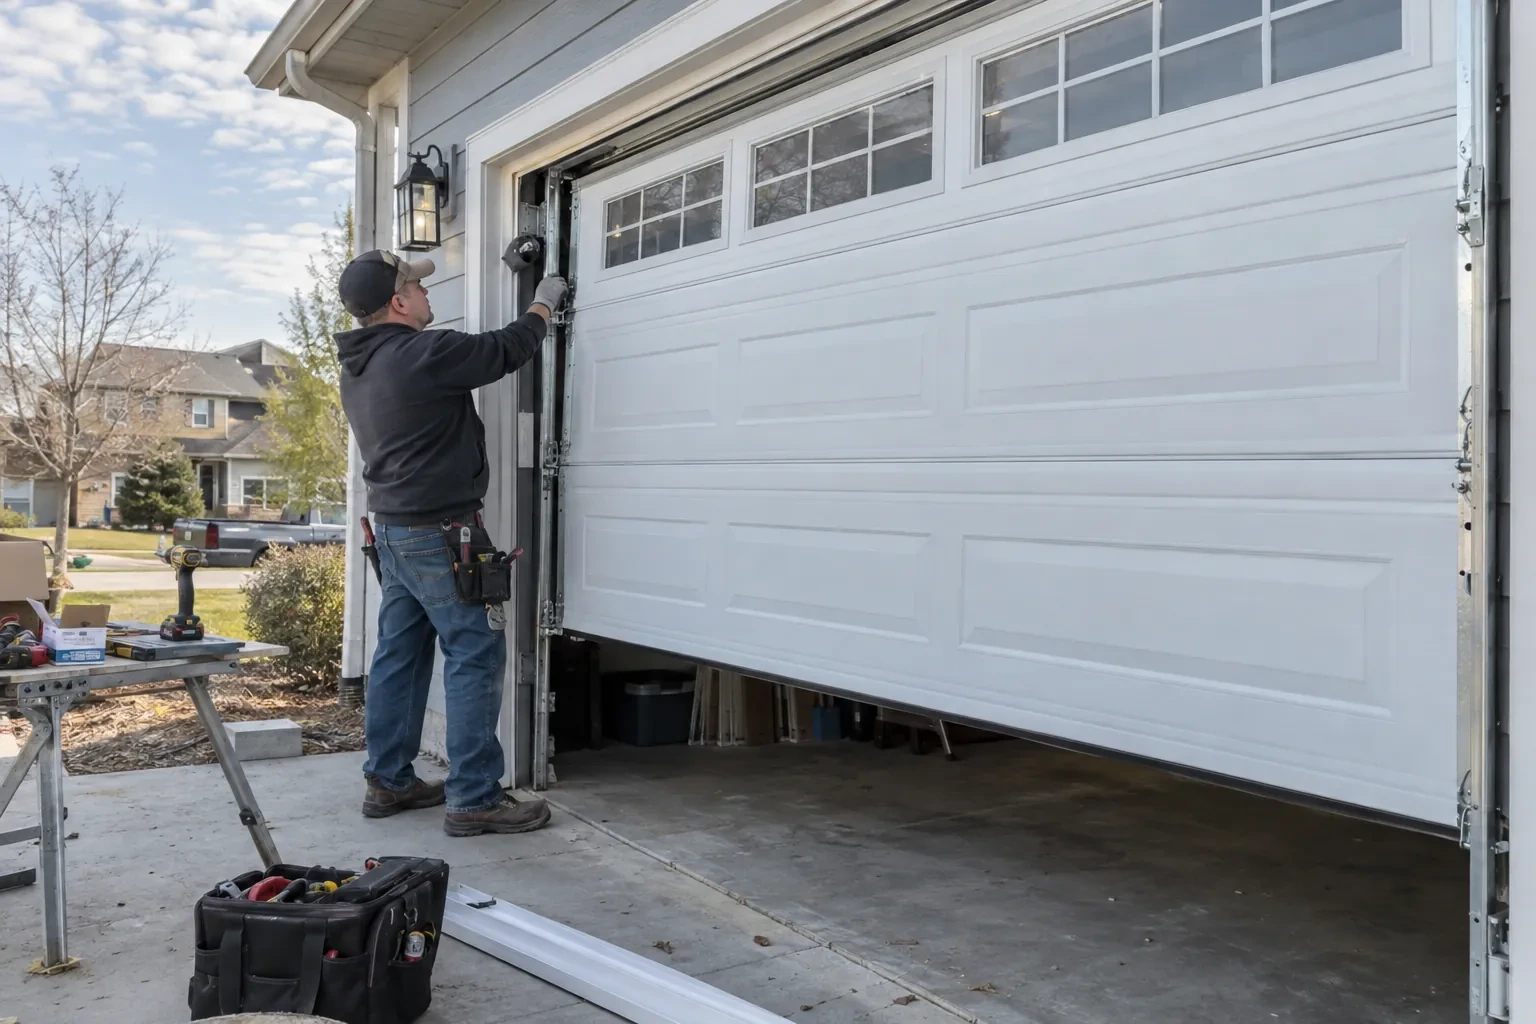
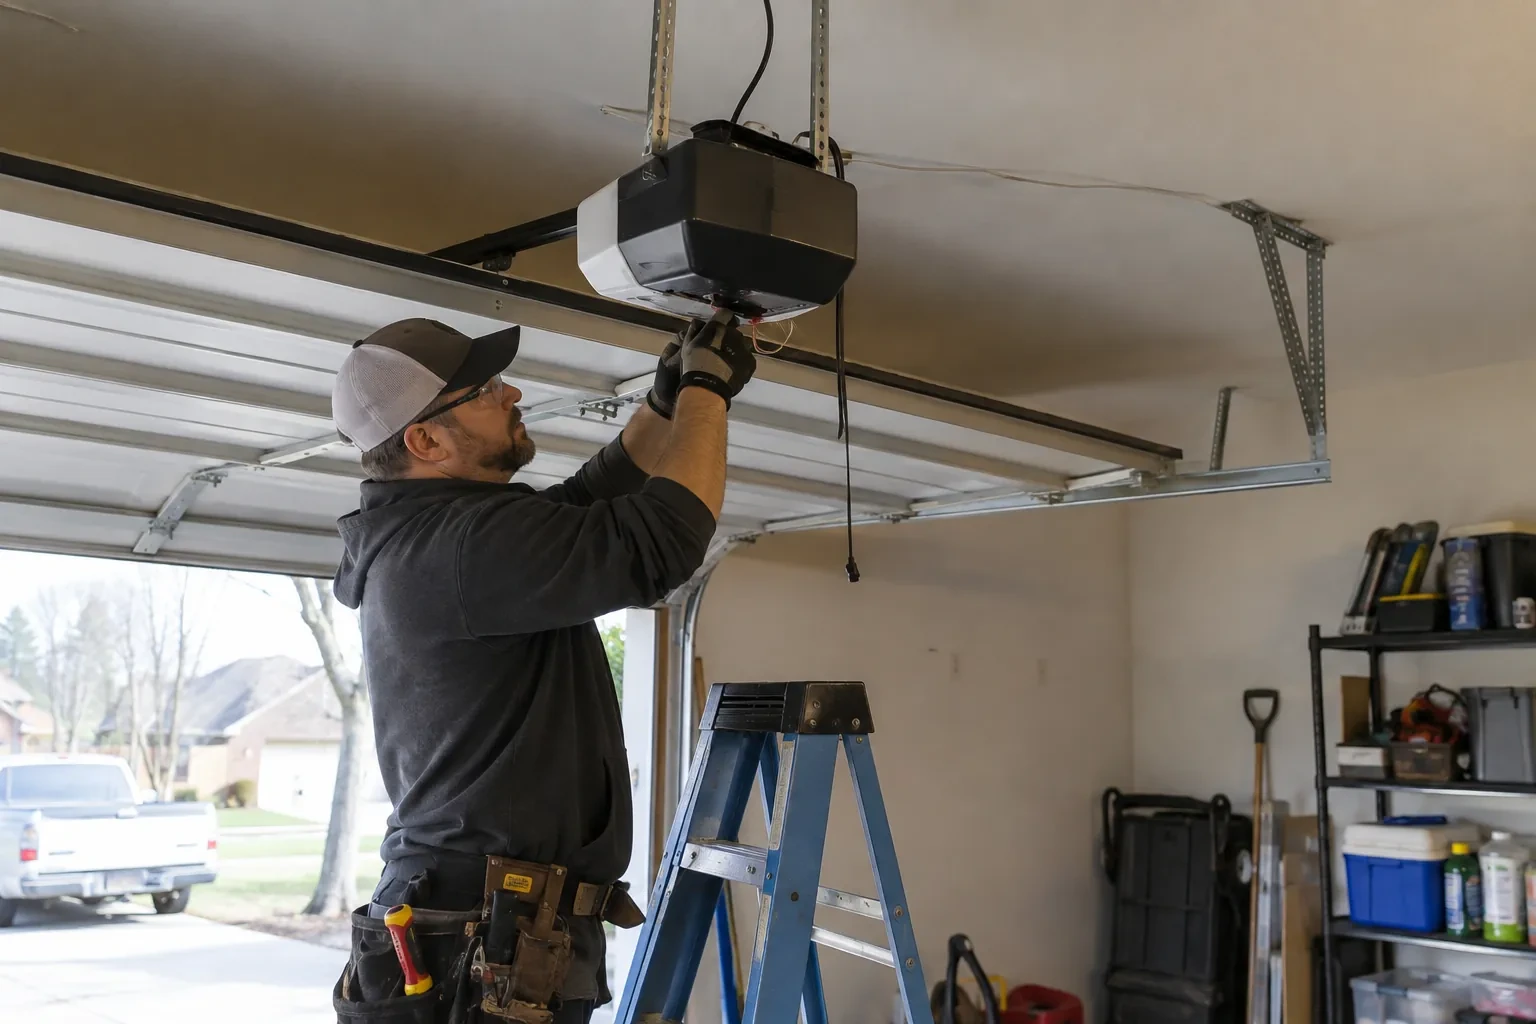
Where the sensor will sit
The door-position sensor works by tilt, so it belongs on the inside face of the top door section, near a hinge line and clear of the opener arm, the lock bar and any handle. The technician checks the panel surface, since insulated steel and raised-panel wood doors have different flat spots, and checks the distance and line of sight to the hub. Homes with two doors need a sensor on each. On a door with a window section the sensor is kept away from the glazing frame. The battery type is noted, and the mounting follows the sensor maker's specified fasteners for this climate: screws, an adhesive strip, or tape as a temporary step before screws.
Joining the home network properly
The hub is joined to the network on the 2.4 GHz band and to the exact network name the household uses every day, not a guest network that might later be switched off. The technician checks that the router's security is a modern type the hub supports and that the signal at the hub's final position is comfortably above the minimum. Where an extender or access point was planned, it goes in first so the hub joins a strong signal from the start. After the join, the hub's firmware update is allowed to finish, and the device is power-cycled once to prove it reconnects on its own without anyone touching it.
A record of what was installed
You receive a short record for the house file: the opener model and serial, the controller model and where it is mounted, the sensor position and battery type, the network name the hub is joined to, and the date of setup. Passwords are deliberately absent from it. The record is what makes a later change simple, whether that is a new router, a second door, a replacement sensor or a future opener, because whoever does the work can see at a glance what is already there. It also tells a buyer, one day, that the connected features on the door were set up properly.
Smart Garage Controller Setup
In the van
Dry-contact adapter for encrypted openers
Lithium coin cell or cylindrical cells
Cable clips and insulated staples
Plug-in power adapter
Wi-Fi access point or extender
Smart Garage Controller Setup
What affects the quote
Ceiling height and access
A standard garage puts the head unit and the top door panel in easy ladder reach. High ceilings, storage lofts or a car that cannot move add setup time.
Built-in radio or retrofit hub
An opener whose wireless radio is already inside needs configuration and testing. An older opener needs a hub, a sensor, wiring or radio pairing and the same testing, which is a longer visit with hardware.
Wireless coverage at the garage
A strong signal at the ceiling is a straightforward join. A weak one, common in detached garages, calls for an access point or extender, which is quoted separately.
What to have ready
- Is there a spare socket in the ceiling receptacle the opener uses?
- Is there a wireless or network symbol printed on the head unit?
- Does your wall console have a digital display or just a button?
Smart Garage Controller Setup: questions
QuestionsCan other people in my household use it?
Yes. The owner's account invites each family member as a user with their own login on their own phone. Each person's opens and closes appear in the history under their name, and the owner can adjust or remove any user at any time. Sharing one login is discouraged because it muddles the history and makes it harder to remove access for one person later.
What does the colour of the learn button tell you?
On many openers the learn button's colour marks the generation of radio coding the unit uses, which decides how a hub can talk to it. Some generations accept a simple two-wire connection at the wall-control terminals; others use an encrypted console and need the hub paired by radio or through a small adapter. Sending a photo of the button and the label ahead of the visit lets the technician arrive with the right hardware.
How long does the setup take?
A built-in radio that only needs pairing and an account is the shorter visit. A retrofit hub with wiring, a sensor and network work takes longer, and adding an access point for a detached garage or correcting photo eyes first adds to it. The testing at the end, every control plus the safety tests, is never rushed. You are told where things stand once the compatibility check is done.